
Before the migration, the hardware specs of my home server read: 12gb DDR4 ram, 100gb SSD, 1TB external HD, and an i7-7700 CPU. Modest but for years it’s served me well from my office closet.
Until recently I’ve been running a copy of Windows Tiny 10 on it while leveraging its Windows Subsystem for Linux (WSL) to run a copy of SavePoint Station Manager for a community radio project (as well as several other Node based servers).
100GB is a good amount of space for my main SSD, but unfortunately the Windows OS takes up too much of it.
I also consider Windows a great desktop operating system, but I’m finding the home server experience I am after is more of a headless/remote one like the VPS I rent on Cloudways.
So I’ve made the decision to ditch Windows, and on the recommendation of a colleague, installed Proxmox as my new home server OS.
Part 1: Proxmox and the “ProxMoxBox”
Proxmox is a Linux-based platform for running and managing servers. It is built on Debian Linux and gives you one web dashboard where you can create virtual machines and lightweight Linux containers (aka LXCs).
Instead of treating the computer like a normal desktop PC, Proxmox is designed to divide its resources between different services. Each application can run in its own separate environment, which helps keep one app from interfering with another.
For me, this is much cleaner than piling every self-hosted application into WSL under Windows. Each service can have its own container, making it easier to install, start, stop, back up, move, upgrade, or even break something without taking the rest of the server down with it.
Proxmox can run full virtual machines, but many self-hosted Linux applications can use much lighter LXC containers instead. It can also connect multiple Proxmox servers into a cluster, allowing you to manage several physical machines from the same interface. The computers still keep their own hardware and resources, but they become much easier to manage together.
This is where Proxmox feels very different from Windows. Windows is mainly built around using a computer directly, while Proxmox is built around managing servers, applications, virtual machines, and containers remotely. For the kind of home server I want to run, that makes Proxmox a much better fit.
Part 2: What LXC is, and how it differs from a virtual machine
I used the word LXC earlier, which for me was a brand new term when I started my Proxmox journey. It stands for “Linux Containers”, plainly.
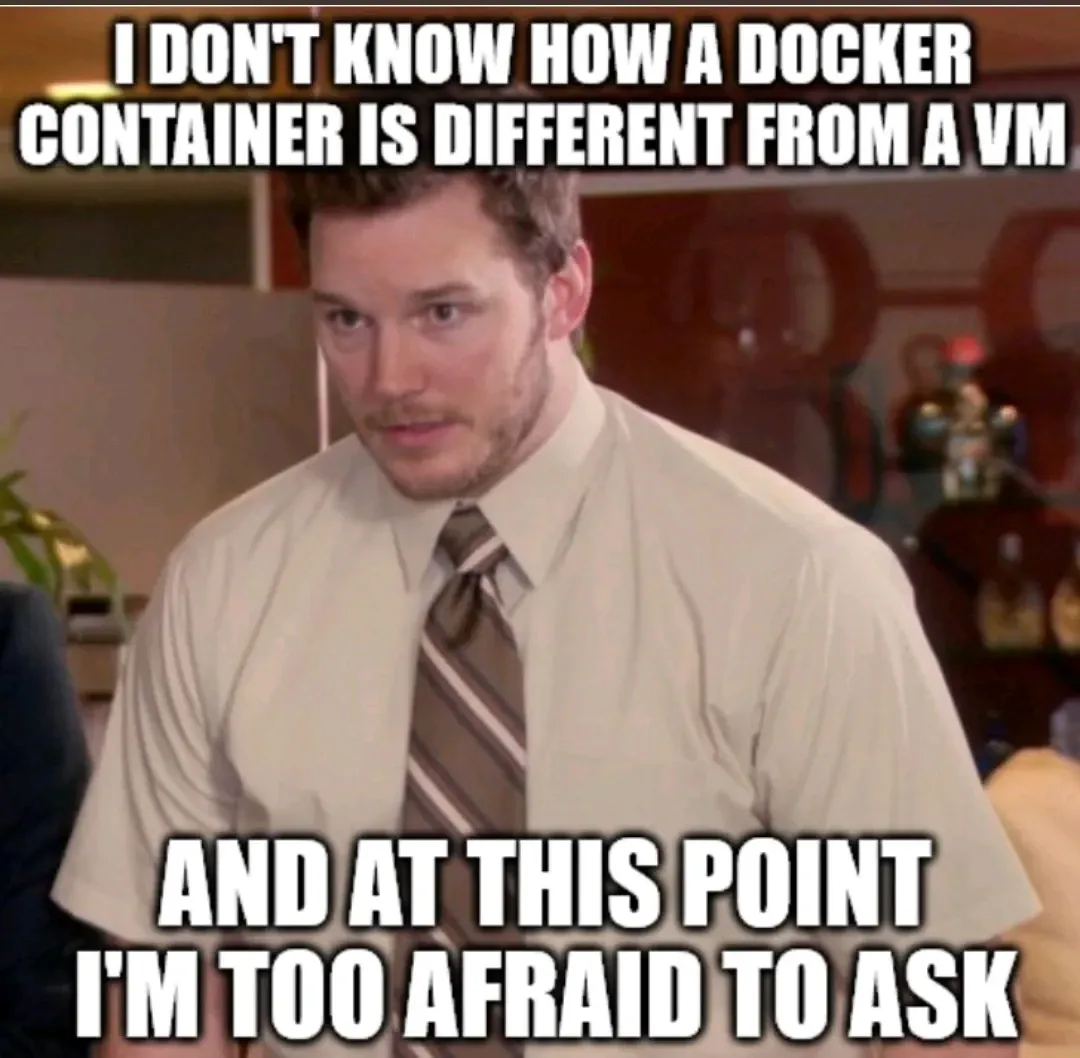
One of the first questions my AI agent proposed to me during my first home server application setup was, “Do you want to install this application as a virtual machine or a LXC?” while simultaneously advising that I choose LXC.
When I asked why it recommended an LXC over a virtual machine, the answer came down mostly to overhead. Both VMs and LXC containers can run directly on the Proxmox host, but a virtual machine behaves like a complete computer with its own operating system and kernel. An LXC container shares the host’s Linux kernel and only isolates the applications and services running inside it.
For the small Linux services I wanted to run, that made LXC a better fit. I could create several lightweight containers and let them share the server’s available CPU and memory rather than running a complete virtual operating system for every application.
A virtual machine emulates a complete computer. It boots its own operating system and kernel and usually requires more memory and storage just to exist. That extra separation can be useful, but it is more than many small self-hosted Linux applications need.
An LXC container is lighter because it shares the Linux kernel already running on the Proxmox server. It still gets its own files, processes, network settings, and resource limits, so applications can remain separated without each needing a complete operating system.
In practice, this means containers can use much less memory and start much faster than full virtual machines. For a modest home server like mine, that lets me run more applications with the hardware I already have.
Part 3: Using Tailscale with Poxmox
Converting Windows to Poxmox was the first part of my home server migration.

The second part of the home network setup was making my server applications accessible inside my home network (as well as outside of it).
To solve this, we have used a service called Tailscale.
Let’s give an example…
At home I have two Google Nest cameras. Instead of paying about $5 a month for cloud storage and access to my doorbell and driveway footage, I built my own surveillance storage that stores the footage on a spare USB HD.
With Tailscale, I can type http://homesurveillance into a browser on any device connected to my Tailscale network and reach the server as though I were still at home.
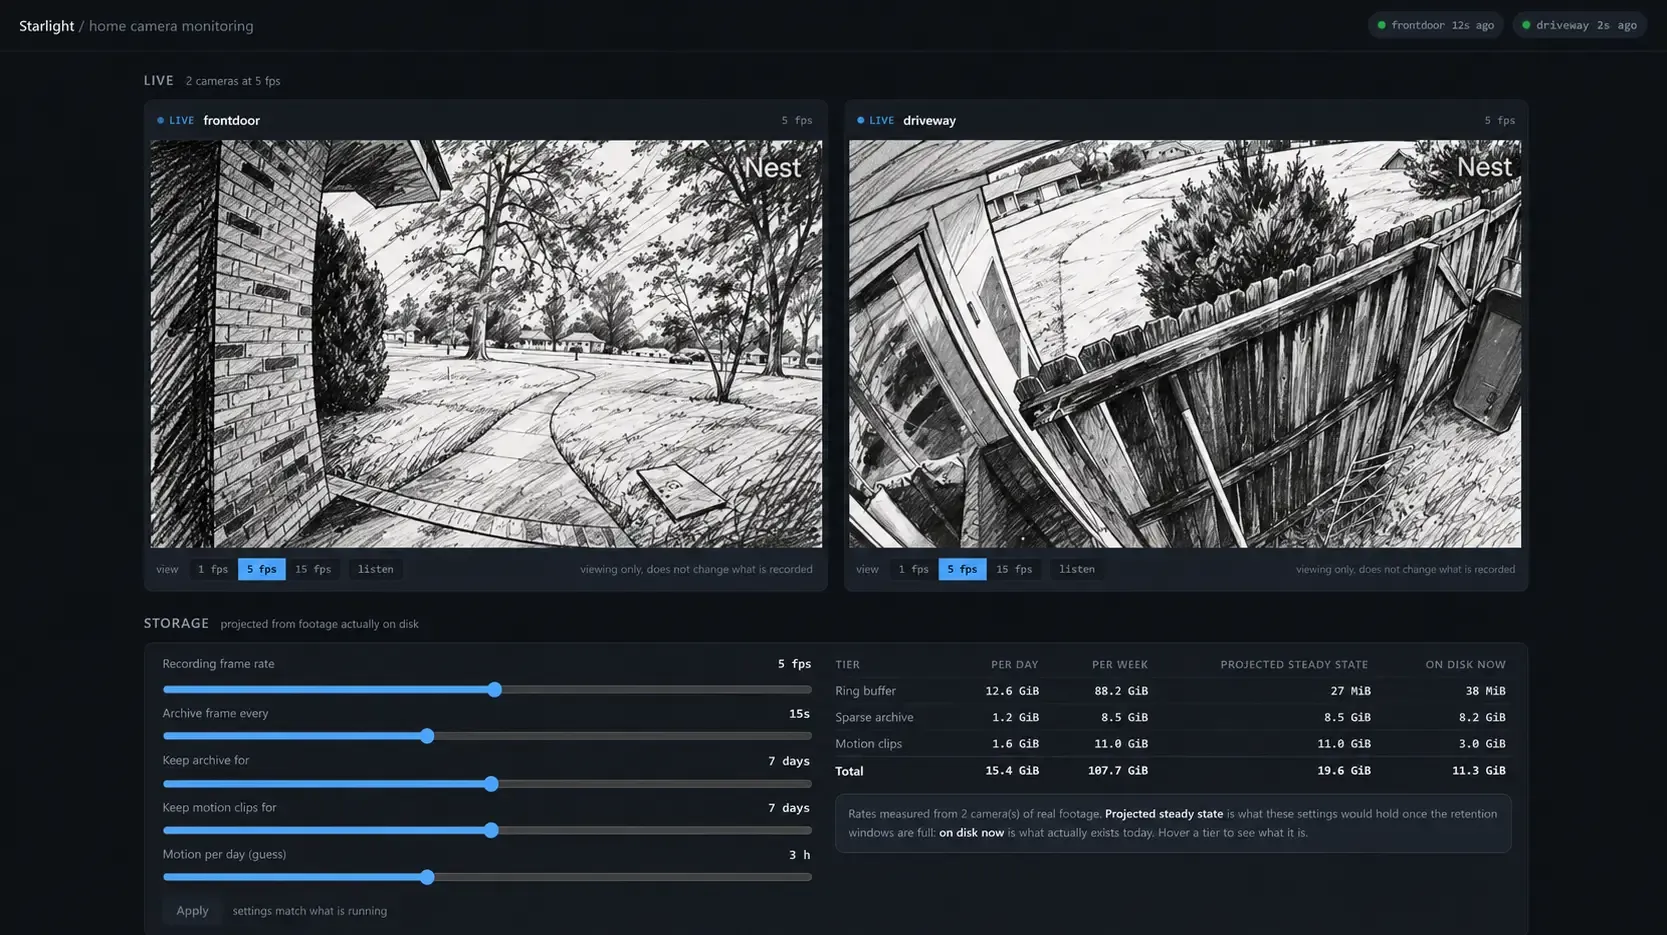
Access to these host endpoints are controlled by policies I define, so only approved devices and users can connect.
Under the hood, Tailscale creates an encrypted WireGuard1 connection between my devices and gives each one a stable private address and hostname. On an iPhone, the Tailscale app uses iOS’s built-in VPN interface to route that private traffic securely back to the home server.
The best part about the Tailscale solution has been their extremely generous free tier offering that covers nearly all personal usage. I already have several devices connected and host addresses for almost 8 different home server applications (this number seems to keep growing as I add more containers to my PoxMoxBox).
The final migration; Proxmox in use:
Since starting this article, the project has already grown beyond the original machine. I’ve added a second Proxmox server, another 8 GB of RAM, an additional 1 TB SSD, and a Zotac GTX 1060 with 6 GB of VRAM. I also reformatted two external drives from NTFS to EXT4, giving them a Linux-native filesystem that is better suited to how I’m using the storage now.
The only thing left to do now is share some screenshots of my servers and let you know how I am using it to improve my personal computing experience:
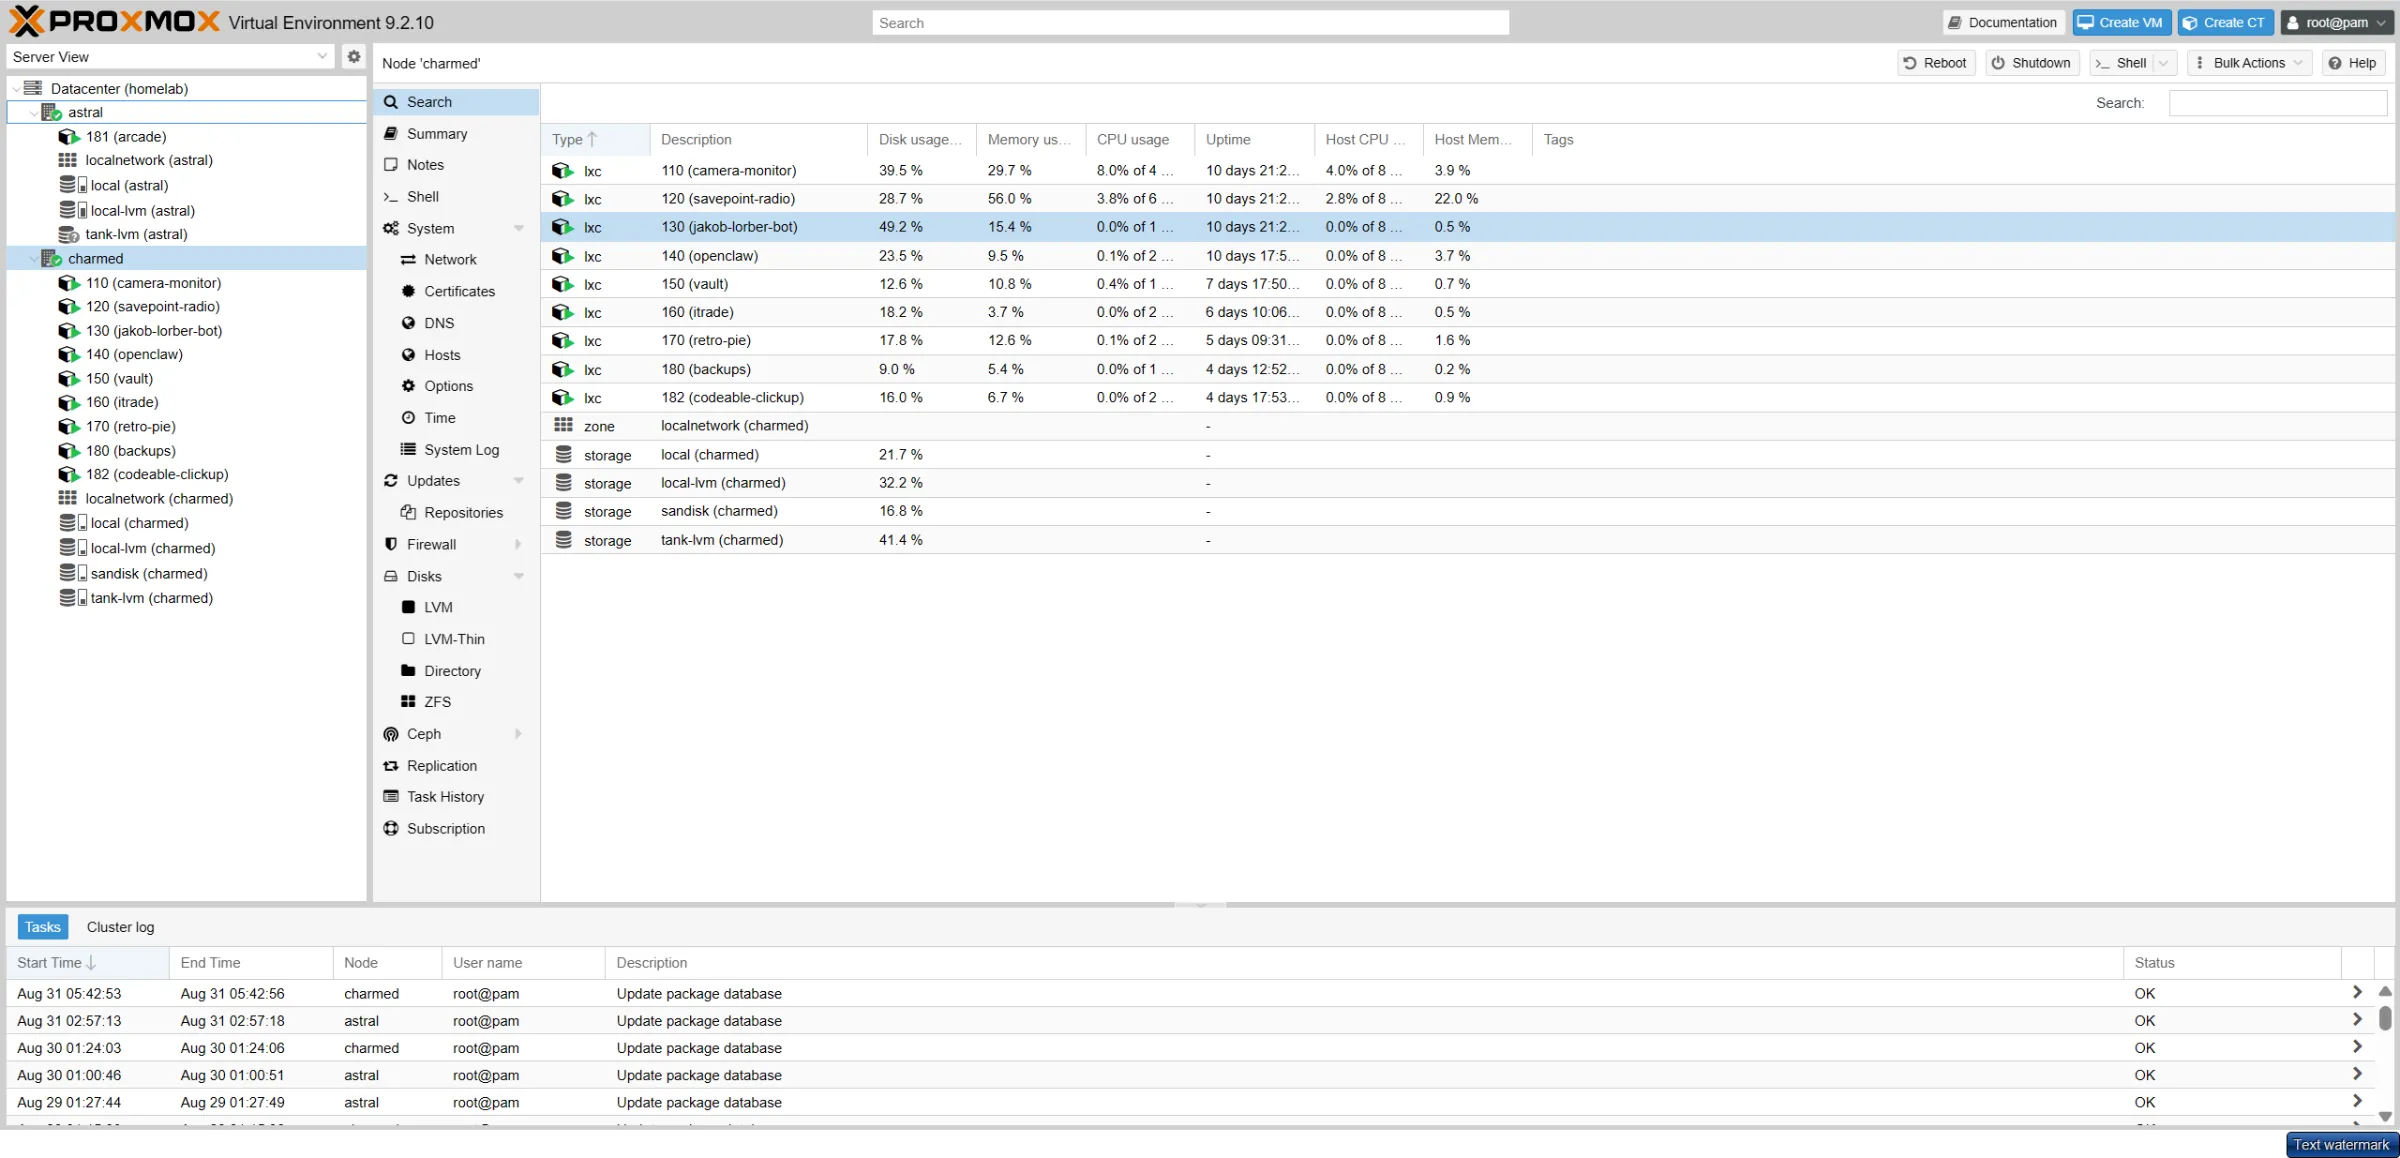
So what are we running?
I’ve created a members-only breakdown of the current contents of my home server, with links to the open-source software that helps me run these apps.
Happy to discuss any of these applications or my setup in the comments or on Discord. Thanks for reading, and good luck with your home server build 🙌
Cover image credit2
Members-only section
This content is for members. Become a member and it unlocks here, or if you already are.
You are signed in. Unlocking this content now.
Footnotes
-
WireGuard is a type of VPN (virtual private network): software that builds a private, encrypted tunnel between devices over the internet. Anything sent through that tunnel is scrambled, so no one in between can read it. More at wireguard.com. ↩
-
Cover photo by Daniel Reche on Pexels, free to use under the Pexels License, with the Proxmox logo added. Proxmox is a registered trademark of Proxmox Server Solutions GmbH. ↩







From the author
atwellpubThis was my first time working with both Proxmox and Tailscale, and I’m very pleased with the end result. Hopefully, my story will inspire more people like me to make the same decision.
0 Comments
No comments yet. Be the first. Members comment from the GBTI local client, where comments are submitted as pull requests and auto-published for paid members.
Become a memberComments are for members. Become a member to join the conversation, or if you already are.
You are signed in as a member. .